
12.18.2023
Indoor Unit: Comprehensive Guide to Ductless Mini Split Installation Explained
The ductless mini split system is a popular choice for heating and cooling in homes and businesses due to its efficiency, flexibility, and ease of installation. This article will focus on the installation of the indoor unit of a ductless mini split system, providing a comprehensive guide that covers all aspects of the process. Before we delve into the specifics, it's important to understand what an indoor unit is. In a ductless mini split system, the indoor unit is the component that disperses the conditioned air into the room. It is connected to the outdoor unit, which houses the compressor and condenser, via a conduit that carries the power and refrigerant lines.
Table of Contents:

Indoor Unit: Ductless Mini Split Installation Explained
The first step in the installation process is to install the mounting bracket. This is the component that will hold the indoor unit in place on the wall. The bracket must be installed level and at the correct height to ensure that the unit operates efficiently and effectively
Preparation for Installation
Before beginning the installation of an indoor unit, there are several preparatory steps that must be taken. These include selecting the appropriate location for the unit, ensuring that the necessary tools and materials are available, and understanding the specific installation instructions for the model being installed. The location of the indoor unit is critical for the efficiency and effectiveness of the system. It should be placed in a location that allows for optimal air distribution, away from direct sunlight and heat sources, and where the noise will not be disruptive. The wall where the unit will be installed must be strong enough to support the weight of the unit, and there should be enough space around the unit to allow for easy access for maintenance and repairs.
Selecting the Right Tools
Having the right tools at hand is crucial for a successful installation. The specific tools required may vary depending on the model of the unit, but generally, you will need a drill, a hole saw, a level, a tape measure, a stud finder, and a variety of screwdrivers and wrenches. It's also wise to have a vacuum pump and a refrigerant manifold gauge set if you are going to be handling the refrigerant lines. Additionally, you will need mounting hardware for the unit, which usually includes a mounting bracket, screws, and anchors. Most units come with a template for drilling the holes for the mounting bracket, which can be very helpful in ensuring that the unit is installed level and at the correct height.
Understanding the Installation Instructions
Each model of indoor unit may have slightly different installation instructions, so it's important to thoroughly read and understand the instructions that come with your unit. These instructions will provide detailed information about the installation process, including the specific steps to follow, the order in which to perform these steps, and any special considerations or warnings. While this article provides a general guide to the installation process, it cannot cover all the specifics for every model. Therefore, always refer to the manufacturer's instructions when installing your unit. If you are unsure about any aspect of the installation process, it's best to consult with a professional.
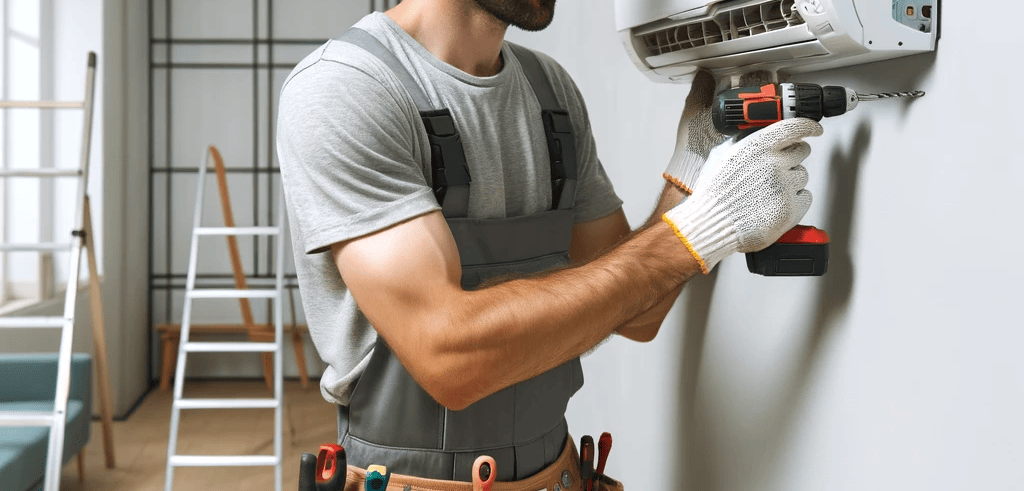
Installation of the Mounting Bracket
The first step in the installation process is to install the mounting bracket. This is the component that will hold the indoor unit in place on the wall. The bracket must be installed level and at the correct height to ensure that the unit operates efficiently and effectively. Using the template provided with the unit, mark the locations for the screw holes on the wall. Then, using a drill and the appropriate size bit, drill the holes for the screws. If the wall is made of a material such as drywall, you will need to use anchors to ensure that the screws hold securely. Once the holes are drilled, you can attach the mounting bracket to the wall using the screws provided.
Ensuring Proper Placement
The placement of the mounting bracket is crucial for the proper operation of the unit. The bracket should be installed at a height that allows the unit to be off the ground and away from any obstructions. The exact height will depend on the specific model of the unit, but generally, it should be installed about seven feet from the floor. The bracket should also be installed level. Use a level to ensure that the bracket is straight before tightening the screws. If the bracket is not level, the unit may not operate properly, and it could cause damage to the unit over time.
Securing the Bracket
Once the bracket is in place and level, it's time to secure it to the wall. This is done using the screws provided with the unit. It's important to ensure that the screws are tightened securely, but not so tight that they strip the holes or damage the bracket. If the wall is made of a material such as drywall, you may need to use anchors to ensure that the screws hold securely. These anchors are usually provided with the unit, but if not, they can be purchased separately. Once the bracket is securely attached to the wall, you can proceed with the rest of the installation process.
Installation of the Indoor Unit
With the mounting bracket securely in place, the next step is to install the indoor unit. This involves attaching the unit to the bracket, connecting the refrigerant lines and the condensate drain, and making the electrical connections. The indoor unit should be lifted carefully onto the mounting bracket, ensuring that it is securely seated and that it is level. Once the unit is in place, the refrigerant lines and condensate drain can be connected. These should be routed through a hole in the wall to the outside, where they will connect to the outdoor unit.
Connecting the Refrigerant Lines
The refrigerant lines are what carry the refrigerant between the indoor and outdoor units. These lines must be connected carefully to avoid any leaks. The lines are usually flared at the ends, and they connect to the unit with flare nuts. These nuts should be tightened securely, but not so tight that they strip the threads or damage the lines. Once the lines are connected, they should be insulated to prevent condensation and heat loss. This is usually done with foam insulation that is slipped over the lines. The lines should then be routed through the hole in the wall to the outside, where they will connect to the outdoor unit.
Connecting the Condensate Drain
The condensate drain is what carries away the moisture that is removed from the air by the unit. This drain must be connected to the unit and then routed to a suitable drain location. The drain line should be sloped downward to ensure that the condensate drains properly. It's important to ensure that the drain line is not kinked or obstructed in any way, as this could cause the condensate to back up into the unit, potentially causing damage. Once the drain line is connected and routed properly, you can proceed with the electrical connections.
Electrical Connections
The final step in the installation of the indoor unit is making the electrical connections. This involves connecting the power supply to the unit and making the control connections between the indoor and outdoor units. The power supply for the unit is usually provided through a dedicated circuit from the main electrical panel. The power supply should be connected to the unit according to the manufacturer's instructions, using the appropriate gauge wire and connectors. The power supply should then be routed through the hole in the wall to the outside, where it will connect to the outdoor unit.
Control Connections
The control connections are what allow the indoor and outdoor units to communicate with each other. These connections are usually made with a multi-conductor cable that is connected to the units according to the manufacturer's instructions. Once the control connections are made, the installation of the indoor unit is complete. The unit should be tested to ensure that it operates properly, and any necessary adjustments should be made according to the manufacturer's instructions
Post-Installation Checks
After the installation of the indoor unit is complete, there are several checks that should be made to ensure that the unit is installed correctly and is operating properly. These checks include ensuring that the unit is level, that all connections are secure, and that the unit operates properly. It's also important to check that the refrigerant lines are insulated properly, that the condensate drain is draining properly, and that the unit is not making any unusual noises. If any issues are found during these checks, they should be addressed immediately to prevent any damage to the unit or any decrease in its efficiency or effectiveness.
Level and Secure
One of the first checks that should be made after the installation is to ensure that the unit is level and secure. The unit should be securely seated on the mounting bracket, and it should be level. If the unit is not level, it may not operate properly, and it could cause damage to the unit over time. If the unit is not level or secure, adjustments should be made as necessary. This may involve adjusting the mounting bracket, repositioning the unit, or tightening the screws that hold the unit in place.
Operation Check
Once the unit is level and secure, it should be tested to ensure that it operates properly. This involves turning on the unit and checking that it produces the desired temperature air, that the fan operates properly, and that the unit responds correctly to the controls. If the unit does not operate properly, troubleshooting should be performed according to the manufacturer's instructions. This may involve checking the electrical connections, the refrigerant lines, or the control connections. If the problem cannot be resolved, it's best to consult with a professional.
Conclusion
Installing the indoor unit of a ductless mini split system is a complex process that involves careful preparation, precise installation, and thorough post-installation checks. While this article provides a general guide to the process, it's important to always refer to the manufacturer's instructions for the specific model being installed. With the proper tools, materials, and knowledge, the installation of an indoor unit can be a successful DIY project. However, if you are unsure about any aspect of the installation process, it's best to consult with a professional. Not only can a professional ensure that the unit is installed correctly, but they can also ensure that it operates at its maximum efficiency and effectiveness, providing you with the optimal heating and cooling solution for your home or business.
Ready to experience the unparalleled comfort and efficiency of a professionally installed ductless mini split system? At RIchair Comfort, we pride ourselves on delivering top-notch quality and exceptional customer service since 1994. Embrace the latest in ductless technology with our expert sales, service, and installation team. ? Schedule your reliable maintenance service today and join the multitude of satisfied customers enjoying a more efficient, comfortable, and environmentally friendly indoor climate.
Back Home - Richair Comfort Solution - Ductless Mini Split Systems Top Quality Installations and Professional Service.
Was This Article Helpful?
RECENT POSTS